Showing posts with label DIY. Show all posts
8.05.2014
Summer Projects

6.24.2014
A Master in the Making (Part 2)
In the past months I have been able to scratch a few more things off the the master bedroom list. Hubby and I made a headboard for our bed.
We took a sheet of plywood and covered it with quilt batting and then the fabric of our choice. We used a staple gun to hold everything together. It is nice and simple. I really like the pop of color that it adds to the bedroom. Not to mention it adds some cushion to the back of my head while reading at night!
My doodle, Murphy, would not budge while I was trying to take pictures of our bedding. Why should he? He rules this house anyways. I originally had all white bedding (which is still my favorite, but with dogs...), but recently purchased this mustard yellow quilt and shams while shopping in Fredericksburg, Texas. It is a lot lighter for summer and I am obsessed with mustard yellow. The grey bed skirt can really go with whatever comforter I decide to use because I usually stick to solids with the bedding color. And my (apparently Murphy's too..) blanket with the pom poms is from a local store here in town that we found hidden behind some furniture while searching for the right color.
Mint - another one of my favorite colors. Hubby and I remodeled this dresser a couple of years ago during our apartment living. I couldn't paint walls, so I painted furniture! It was originally a dark wood with no pulls. I collected the pulls over time and this was the perfect piece for them.
Doors have been painted black...and need a good cleaning apparently..
Looks like I will never be using the new blanket if I have to fight Murphy and Rosie for it!
Here is an updated list of to do's for the the master:

Labels:
DIY
5.19.2014
New pillows, New paint!
![]() |
| I must tell you that the new elephant pillow - I picked her up at Pier 1 on clearance. |

4.28.2014
House of Turquoise


4.21.2014
Painting our Vinyl Floors

Labels:
DIY
4.14.2014
Craft Room Progress
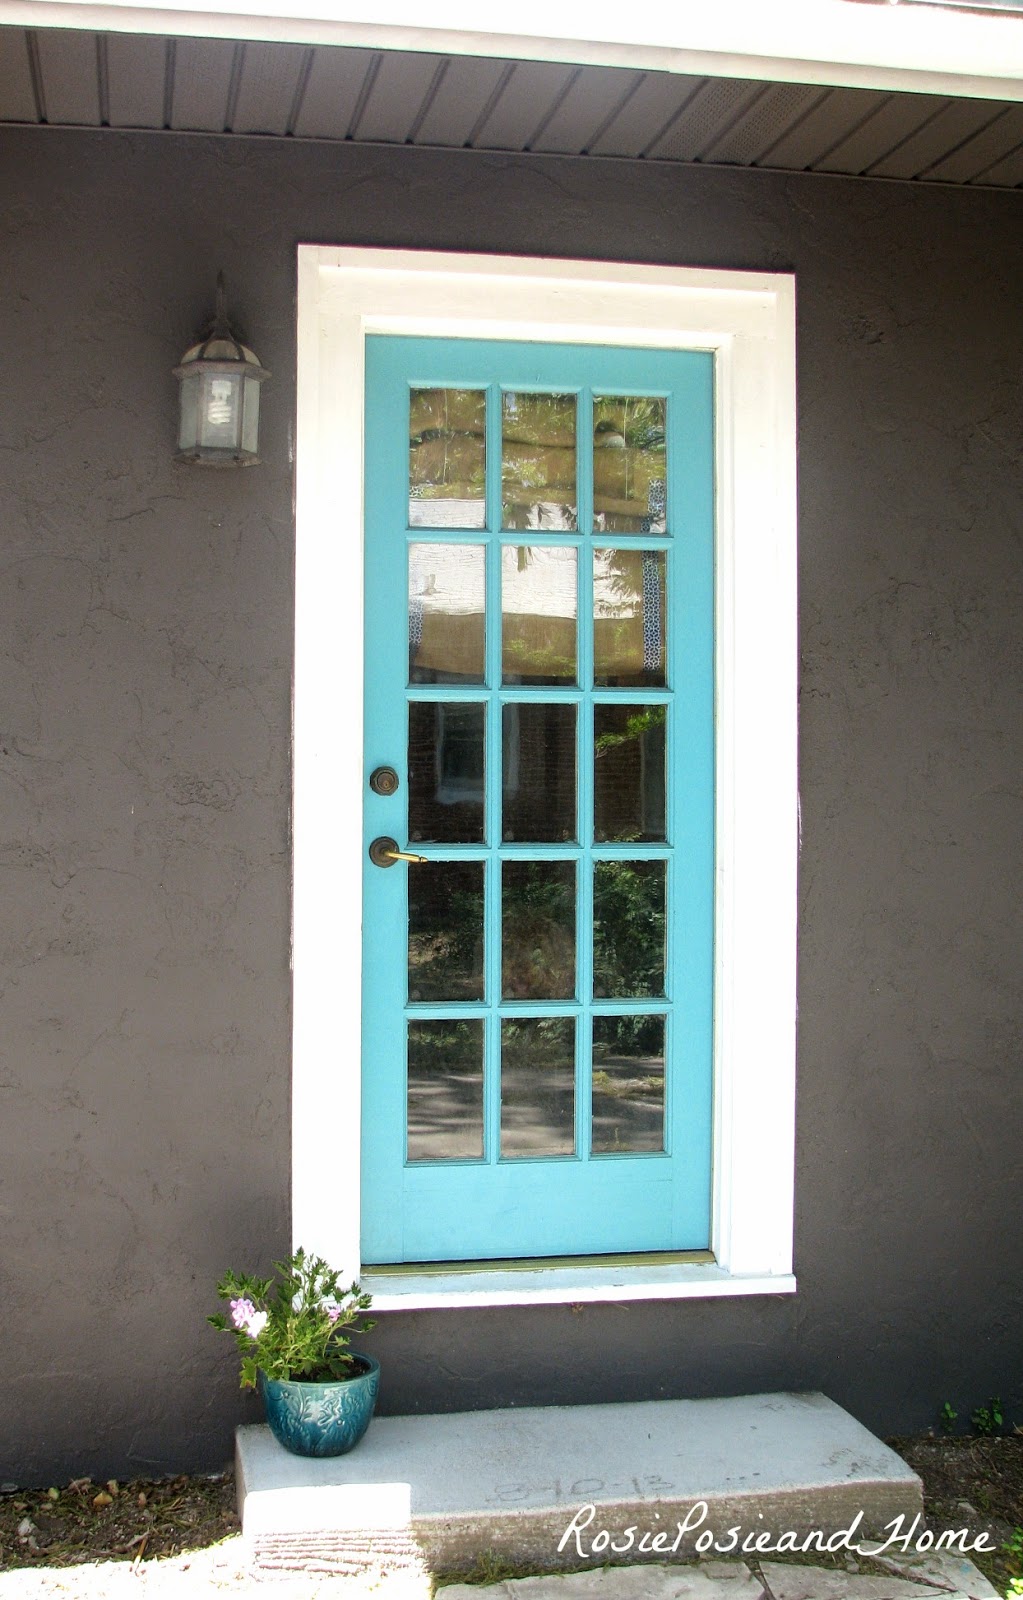
The craft room is under way! In the back of our house (leading out to the backyard) we have another add on room that we really consider a mud room. It has 3 great doors that have windows top to bottom. They let in great light. The room also came with a built in cabinet and counter top. Since we moved in, the counter top has really only housed Hubby's tools and projects (pretty much an eye sore). Let's be real.
One day, while standing in the room with my thinking cap on - I decided this was to be my craft room. I consider myself a crafty person and figured Hubby would like all my crafty things in one spot. Brilliant. With built in cabinets already in place - this would be the perfect spot to get messy.
I like to be inspired when working on a project or writing a post. Nice, pretty, creative things around me usually help! YES, this room is still in progress, but so far - we have painted of course (this room was an interesting shade of green), we added a solid cedar shelf above the cabinets, I painted the cork board, and we cut out some chicken wire. Still left to do - more storage, shelves for printer and printer accessories, I have my eye on some Nate Berkus accessories for the desk. Also, in time I would like to have this counter top magically turn into a butcher block (maybe when we redo the kitchen).
Painting this floor dramatically changed the look of the room. Before - the floor was a brown vinyl that looked like tile. HIDEOUS. It was faded to green from the doors never having window treatments on them. Hubby and I considered many options before painting. All those options totally busted the budget we had set for this room. While browsing Pinterest, I came across several pins about painting the floor. Showed it to Hubby - we were painting the next night. I plan to post a tutorial about painting the floor, so if you are interested in that - come back to me soon!
The turquoise stools were originally brown and in my parents' kitchen until they built their second home and finally upgraded. They sat in the attic for several years until Hubby and I moved into our second apartment and had a bar that needed some bar stools. Mom and Dad - your stools made another move and live on (with a little face lift)!
Tripp is making his debut and loving every minute of it. He is very photogenic, don't ya think?


Labels:
crafts,
DIY,
inspiration,
paint
4.08.2014
DIY Delicate Rings
Another DIY, man I'm feelin' crafty! My good friend and fellow blogger, Abby came to visit this weekend and we concluded our weekend with some Pinterest projects. We came across a TON of good tutorials on making some little delicate, dainty rings and we decided to tackle the project. These little babies almost didn't come to be: fingers+thin wire+small stones+VERY tacky glue = patience overload (which I CANNOT handle). I never thought I had big hands or fingers, but geeze after doing this project I feel like I have dinosaur hands!! But, do not fear, we pushed through and actually got into a good groove after throwing the first few across the room. We also ended up pretty much making it up as we went (sometimes that is when the best projects form) and got what we got...AWESOME new jewelry.
Materials:
- 22 gauge wire
-16 gauge wire (thick)
-E-600 glue
-wire cutters, needle nose pliers (if you have jewelry making tools then use those!)
-stones of any color and size
*all items were purchased at Michael's and Hobby Lobby
1. To create the actual ring - cut about 2 inches of the 16 gauge (thicker) wire. Then cut about 2-3 inches of the 22 gauge (thin) wire.
2. I used a crayola marker to create the mold for the ring. After making a circle with it- just mold it to fit whichever finger you want it on. Using the pliers I clamped the ends of the wire around each other so they would not poke.
3. The stones that I used had a tiny hole in each of them, which ended up coming in handy. I slid the thin wire through the hole.
4. After the wire was through the hole, I then created the pattern I wanted on top of the stone. I created an "X" in the stone pictured. You can really get creative with this if you desire! Make sure to leave enough wire on each side to attach the stone to the ring.
5. After some trial and error of creative patterns - start with one end and wrap it around the ring that was created.
6. Pull nice and tight and wrap the other end around the rest of the ring.
7. And there you have it - a new ring...or 10!
8. I also created some rings without wrapping the wire around the actual band (this actually happened BEFORE I figured out that I could just make the wire longer and wrap it around the band). I made my pattern and just tucked the wire under the stone, dabbed some glue and attached it to the band. I leaned the ring up against the wall to let it dry.
9. The left ring is with glue and the right ring is the wrapped wire. I really like how they both turned out - personal preference I guess (and if you are impatient and cannot stand waiting for the glue to dry you have another choice)!
Considering the nature of my blog - OF COURSE these will reside on the vanity that Hubby built me in our master bedroom. The vanity will be introduced shortly once I have found the perfect light to hang over it! For right now - the vanity is housing my nail polish and headband collection. Not to mention a few Birchbox samples scattered about.
Don't forget to head over to my good friend Abby's blog and get some fabulous fashion tips!
4.06.2014
DIY Side Tables
After posting my Movie Room Inspiration and receiving our couches - I have turned it into high gear in the decorating department. I was licking my lips and rubbing my hands together as those couches were being moved in. The wheels were turning and Hubby was tightening his hands on the wallet. We immediately went to Target to get the Threshold side tables I had my eye on. Well, OF COURSE they did not have them in-store. That is okay - I am just as good of an online shopper. Since we struck out with the tables, we took a peek at the rugs. I had actually been eyeing this rug for outside by the pool, but it is the size we needed in the movie room, surprisingly soft, and it was on sale - score and SOLD! Before I could even ask if we could get it, Hubby had pulled it off the shelf and had it on top of his shoulder - that was a good sign, so I went with it. As we were walking out of the store Hubby let me know that he had two old wooden stools at work that were going to the thrown out - would I want them? UM DUH. I can always do something with those. Before we made it to the car we had decided we were going to make our own side tables for the movie room - with the stools! Wheels turning I tell you!
Materials:
- white spray paint
-metallic gold spray paint
-Polyurethane clear coat
-sand paper
-circular saw (any type would get the job done)
1.We Hubby used a circular saw and cut all four legs to the height we wanted (we measured another table in our living room to get the correct height)
2. Using a sander, we sanded all four legs, top and bottom of stool to get a good surface for the paint to adhere to
3. We actually spray painted the whole stool white first (Hubby thought I wanted the whole thing white and just the bottom of the legs dipped in gold) then we taped around the legs so we would not get gold all over the white and went to town with the gold paint
4. Ta- da! Removed tape and sprayed two coats of Polyurethane on top for a glossy finish (and to prevent water rings)
Now, I know it is not my Threshold table I originally wanted - but I am happy with it! The other stool is in the workshop awaiting sanding. She will join her long lost twin soon enough.
The movie room is making it's transformation as we speak and I am excited to show you the final product hopefully soon!
Materials:
- white spray paint
-metallic gold spray paint
-Polyurethane clear coat
-sand paper
-circular saw (any type would get the job done)
1.
2. Using a sander, we sanded all four legs, top and bottom of stool to get a good surface for the paint to adhere to
3. We actually spray painted the whole stool white first (Hubby thought I wanted the whole thing white and just the bottom of the legs dipped in gold) then we taped around the legs so we would not get gold all over the white and went to town with the gold paint
4. Ta- da! Removed tape and sprayed two coats of Polyurethane on top for a glossy finish (and to prevent water rings)
Now, I know it is not my Threshold table I originally wanted - but I am happy with it! The other stool is in the workshop awaiting sanding. She will join her long lost twin soon enough.
The movie room is making it's transformation as we speak and I am excited to show you the final product hopefully soon!
Labels:
DIY,
movie room,
paint
3.22.2014
A Dining Room for Two (for now)
Hubby and I were super excited when we bought this home with a space specifically designated as a dining room. We have been living in one bedroom apartments where we could barely fit our folding table with four chairs. And by four chairs I mean - two chairs out with two more in the closet that only got pulled out when company was over. Now we can easily seat 6 chairs around our table with room for more! Oh the little things in life!
But first we needed a dining room table! I had in mind exactly what I wanted - wooden farm table. Have you ever searched for a large wooden farm table?? EXPENSIVE!!! Hubby always says that my eyes go to the most expensive thing in the store..me? Never. Deny, Deny, Deny. We had to come up with plan B.
Okay Plan B - make our own. We LOVE to DIY so this was no problem, especially because we had 2 large pieces of our actual wall lying around in the garage. Our house has cedar plank walls under the sheetrock. Nice and sturdy (and you can ALWAYS find a stud when hanging something!) and beautiful! At some point before we owned the house, parts of the wall had been taken out and were preserved in our garage. We (...Hubby) cleaned them up and nailed them together - added the legs, stained it, and TADAAAA! I am sure he will argue that is was NOT that easy - but hey it was THAT easy to watch!
My parents gifted us with our beautiful green chairs from World Market (similar here). I have a temporary plan for our folding chairs that we have placed around the table right now. I will post when those are complete! I am searching for the perfect chairs to complete that table - I cannot decide. I go back and forth between having Hubby build a bench for one side or not - I like the look, but not sure how practical it is (with no back on the bench). Plentyyyy of time to decide.
This dining room was another room in our house that did not have crown molding, but had the space between the sheetrock that needed to be covered up. We added that and painted the walls - same color as the living room.
I LOVE our old french doors that go to the master bedroom. I had a plan all along to re-paint them and decided on black. I like how bold the doors are now. A real feature to the room. They really stand out as you open the front door and enter the house. Our next step is to add some privacy to the master bedroom. Our thoughts are to "frost" the glass in the doors or add curtains on the bedroom side of the doors. I am leaning towards curtains because sometimes I really like that you can view the master as you walk by the doors (only when it is clean of course). If we added curtains I could push them open when I want and close them when things are scary in there.
Our dining room for two is perfect for us right now and there is plenty of room for a (cough cough) high chair (cough cough) .....someday!
But first we needed a dining room table! I had in mind exactly what I wanted - wooden farm table. Have you ever searched for a large wooden farm table?? EXPENSIVE!!! Hubby always says that my eyes go to the most expensive thing in the store..me? Never. Deny, Deny, Deny. We had to come up with plan B.
| There he is - Hubby - new birthday present to help with the table! |
My parents gifted us with our beautiful green chairs from World Market (similar here). I have a temporary plan for our folding chairs that we have placed around the table right now. I will post when those are complete! I am searching for the perfect chairs to complete that table - I cannot decide. I go back and forth between having Hubby build a bench for one side or not - I like the look, but not sure how practical it is (with no back on the bench). Plentyyyy of time to decide.
This dining room was another room in our house that did not have crown molding, but had the space between the sheetrock that needed to be covered up. We added that and painted the walls - same color as the living room.
Labels:
dining room,
DIY,
move in,
Pre-Reno
Subscribe to:
Posts (Atom)


.jpg)


.jpg)